Article written by FCX Performance, Inc
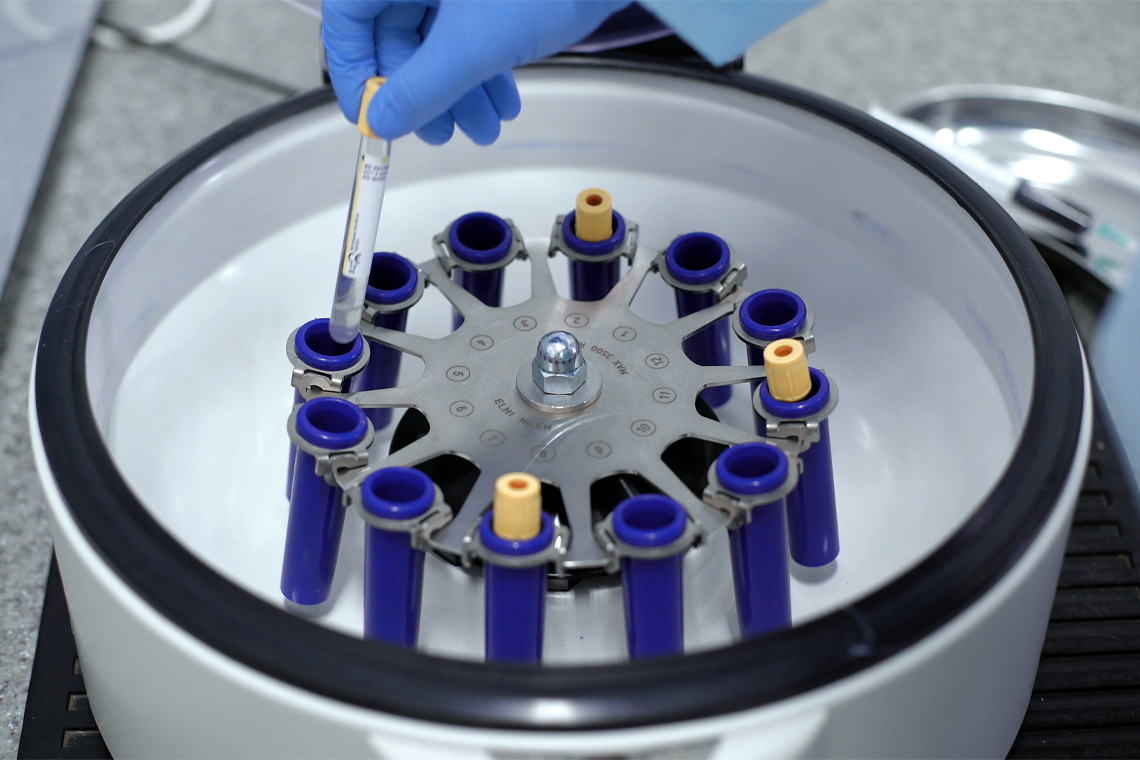
A laboratory centrifuge is a piece of equipment that uses centrifugal force to separate a liquid from a solid or a lighter liquid from a more viscous liquid. It will spin several test tubes very quickly to speed up the effects of gravity and separate the substances by their densities. Heavy solids or fluid will move to the bottom of the tube while lighter liquids move to the top.
It is important to keep the test tubes, or the load, balanced. If the centrifuge is imbalanced, it can cause a number of disruptions and potentially decrease the machines' life expectancy. To ensure your centrifuge is balanced, you want to always be working with an even number of test tubes. So, how do you balance a standard 12 slotted centrifuge with an odd number of test tubes? Let's review with a 12 slotted centrifuge.
How to Balance 5 Tubes in a Centrifuge
When loading the centrifuge, you’ll place 3 tubes at the 11, 12, and 1 o’clock potion within the centrifuge. The remaining tubes will then sit in the 5, 6, and 7 o’clock position in the centrifuge. The balance tube can be seated in any of the 6 positions described above.
How to Balance 7 Tubes in a Centrifuge
When balancing 7 tubes in a lab centrifuge, you will need to add a balancing tube to ensure you’re working with an even number of tubes; in total, you should be working with 8 tubes. Again, fill the balance tube with water to match the weight of the other test tubes.
When you’re ready, you want to situate the 8 tubes into 2 sets of 4 tubes when you place them in the centrifuge. You want your 2 sets of tubes to counterbalance one another in a way that the weight can be centered in the centrifuge. To do that, you’ll place 4 test tubes in the 11, 12, 1, and 2 o’clock position. Then place the remaining 4 test tubes at the 5, 6, 7, and 8 o’clock position. Again, the balance tube can be seated in any of the positions described above.
Steps to Balancing your Centrifuge:
- Make sure the centrifuge is on a level, stable surface.
- Select the correct size of tubes for your centrifuge.
- Fill all your test tubes evenly including your balance tube using a liquid of equal density.
- Insert a balance tube opposite the last tube place to create an equal number of test tubes. Insert a balance tube opposite each microtube in the centrifuge.
- Add a test tube into the centrifuge, then a second test tube directly opposite the first with an equal number of spaces in between.
Pro Tip- It’s always important that you arrange the tubes 180 degrees apart.